|
Ritchie Dash Style-Flush Mount Compass
Install
|
|
 |
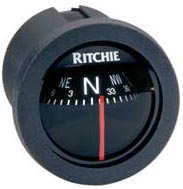
| Mounting a Ritchie dash style compass
(X-15SBB shown here) is a fairly simple install. These are dash
style flush mount compasses. Special care needs to go into installing any type of
flush mount accessory. Because it involves cutting a 2" hole out of your
kayak, you want to get it right the first time.
*marine goop or silicone is optional. If the install is
done correctly, there shouldn't be any need for additional sealant. The compass
comes complete with a gasket, threaded body and tightening nut.
You must be able to access the inside or your kayak near the
mounting area.
|
|
Search around your kayak for a
2 3/4" - 3" patch of relatively vertical space.
Be sure the location is somewhere you can view the compass from once installed.
The angle should be no less than 40 degrees yet no greater than 80 (give or take a couple of
degrees).
In this model, the end of a foot well seems the most likely
place for a solid mounting. |
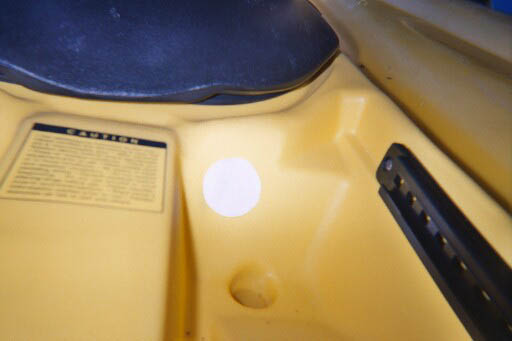 |
| Cut a circle 2 3/8" in diameter out of some
paper. This will act as template for measuring off an area that may or may not
work. This is not the diameter of the hole you'll be cutting. This is merely a
template for determining a potential mounting location. When you've found the proper
angle with enough surface area, the only other factor to consider is how flat the surface
area is. Be sure that once you've found your ideal location (with an angle greater than 40
degrees yet less than 80), that you've also checked to make sure that the 2 3/8"
mounting area is flat.
Mark off the center of your
circle by pushing a ball point pen through the center of the paper. Remove the
template.
|
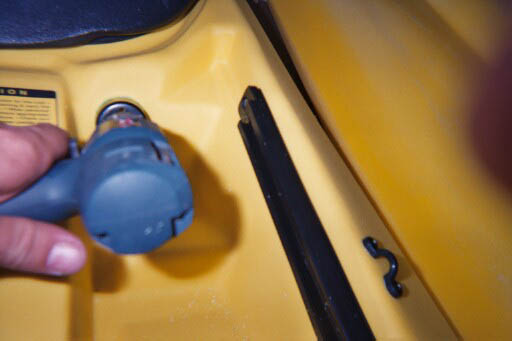 |
| Using your drill with a 2" hole saw, line up the tap bit with the pen
mark. Line it up straight, apply juice and steadily apply pressure until you get
through. Be sure you don't damage any wires, cables or anything else that might be on
the other side of the mounting area. |
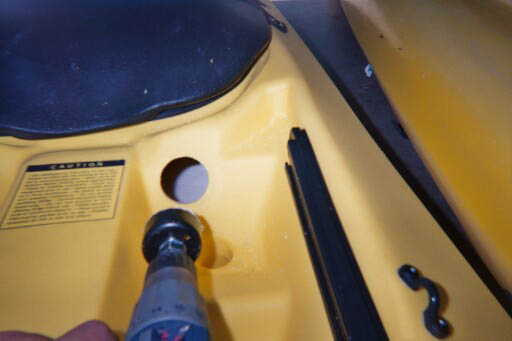 |
| Once you've drilled, look the
hole over. Clean the area wiith a damp paper towel. |
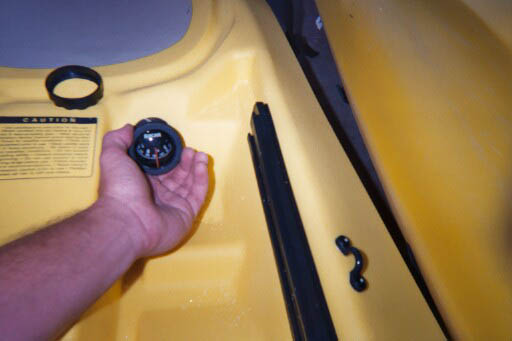 |
| Place the gasket on
the compass. The gasket will sit flush against the
outside of the kayak once the compass is installed..
Place the compass inside the
hole. It will be a tight fit since the end of the compass is 2 1/16" and your
hole only 2". It may take a little finessing but your fit will be more secure
(notice the tightening nut in the top left corner).
|
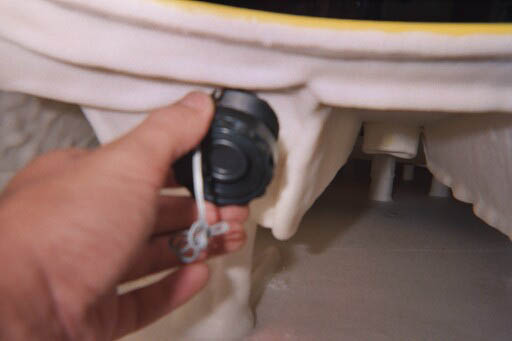 |
| Thread the compass light wires
through the nut prior to placing on to the compass threads. Tighten the nut around the
compass. While tightening the nut from the inside of the kayak, hold the
compass still from the outside. As you tighten up the nut, the compass is going to
want to rotate with it. Apply more pressure from the outside (pushing the compass
towards the nut) as you tighten the nut from the inside. |
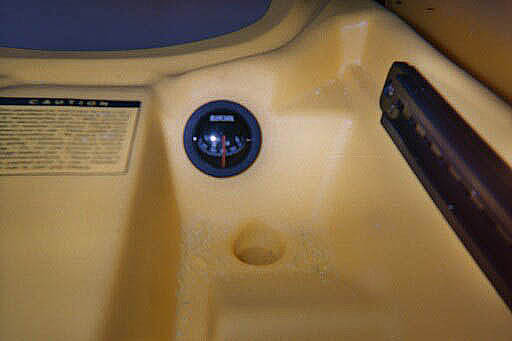 |
| You're finished! The
compass comes with a built in light. If you're planning to do some night or predawn
fishing, I recommend hooking the light up to a toggle switch and running it off of your fish
finder battery.
<back |