|
Flush Mount Rod Holder Installation |
|
byTed Mackel |
WARNING! Check with the manufacturer of your Kayak before attempting any of the following
procedures. The following procedures may:
- Void your Kayak warranty.
- Cause your Kayak to take on water.
- Damage your Kayak beyond repair.
- Compromise the structural integrity of your Kayak.
- Make your Kayak unsafe and dangerous
Please do not attempt this installation unless you are well experienced with power tools. Make sure to read all safety instructions for all power tools you use and make sure to wear proper safety equipment such a safety glasses, respirators, etc. The author of this information and the owners of the websites that host this information are not liable for any problems or issues that arise from the use of this information. Users of this information hereby acknowledge that all use is of this information is done by their own free
will, at their own sole risk, understanding that injury or death could occur.
Preparing the Rod Holders
Most rod holders come with the bottom open . Rod holders are intended to be used on large boats that have
gunwales that are high above the waterline, large boats also have a automatic bilge system built into the hull.
When water enters the
rod holder it escapes in to the hull and is usually evacuated by an electromechanical bilge pump.
Sit on top kayaks do not have built in automatic bilge pumps, nor is it practical to install one that can be relied upon.
Since the gunwales on the Kayak are at the waters edge it is necessary to plug the bottom of the rod
holder. This plugging needs to be permanent as many times the bottom of the rod holder cannot be reach inside the hull of the Kayak.
My solution has been to pick up a small plastic cutting board from Walmart and using the same hole saw blade I use to cut the hole in the kayak, cut a disc out of the cutting board.
Be careful to work quickly and carefully as the friction from the
hole saw will melt the plastic. Once you have cut a disc for each rod holder, then take medium grit sand paper and sand one side of the
disc and the bottom of the
rod holder. Make sure to sand the edges of the disc smooth as they will catch on equipment that you store in your hull if you leave them rough.
Next take two part epoxy, mix it according to it's directions and liberally spread it all over the sanded side of the disc and all over the bottom of the rod holder.
Make sure to fill in the center hole on the disc created by the hole saw. Most
rod holders have a plastic support bar that spans the diameter of the bottom of the
rod holder, this will usually cover the center hole created by the hole saw, but make sure there is plenty of epoxy to fill in that hole in any case.
Next, once you have coated one side of the disc with epoxy and the bottom of the rod holder with epoxy, stick them together.
Stand the
rod holder up on your workbench and don't touch it till the next day. This is a great project to do at about 9:00 at night, after you are finished go in the house, have a late night snack, surf the internet, watch the evening news or go bother your wife and go to bed. This way the epoxy will have all night to set.
The next morning if you are as obsessed as I am, you will fill up the rod holder with water and check for leaks.
If you liberally used the epoxy, there should be no leaks. If you should find a leak then completely dry out the tube, mix up some more epoxy and fill in the gaps.
Cutting holes in your Kayak
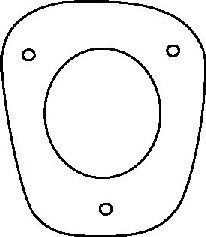
| The first thing to do is make a template of the rod
holder base. Take a piece of paper and and trace the outline of the rod
holder base. Using scissors cut out the pattern and cut out the hole for
the tube. You can then take this template and place it in different positions
on your kayak to get the best idea on where you want to install your rod holder. |
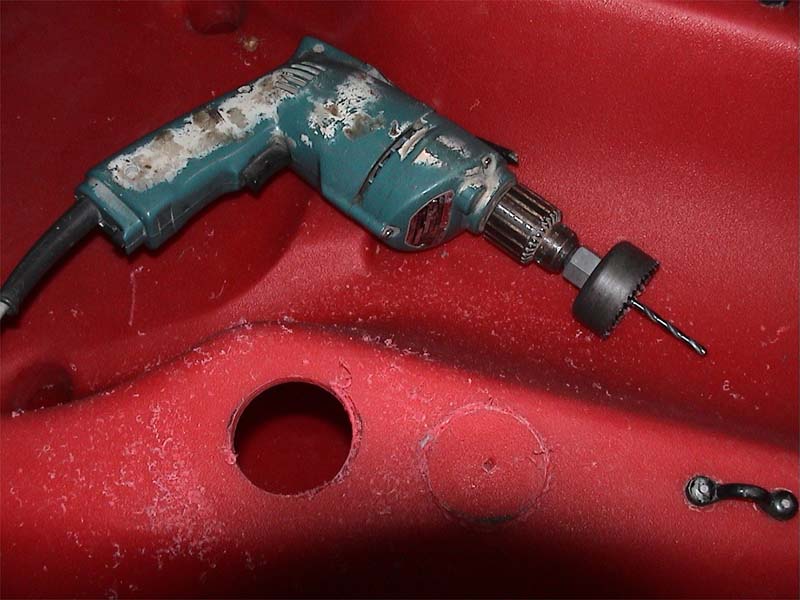
| You can then take a permanent black marker and trace the inner
circle in the location you need to cut on your Kayak. Using a hole saw, you can
carefully cut out the center hole of the rod holder. Make sure to keep the
disc in the hole saw which you can use if you ever need to make a future repair to the
hull. |
| Next this round hole needs to be modified to an elliptical shape
in order to accommodate the rod holder as the tube part of the rod holder is not
perpendicular to the base. |
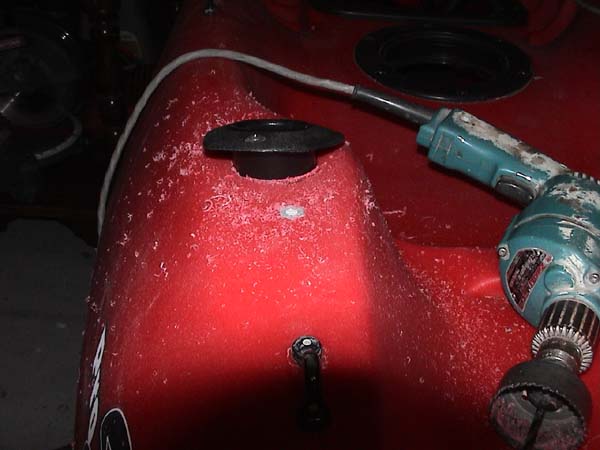
| When you set the rod holder in position take your permanent
marker and mark where the hole needs to be modified. |
| As seen in the picture above the markings indicate where the
hole needs to be modified. |
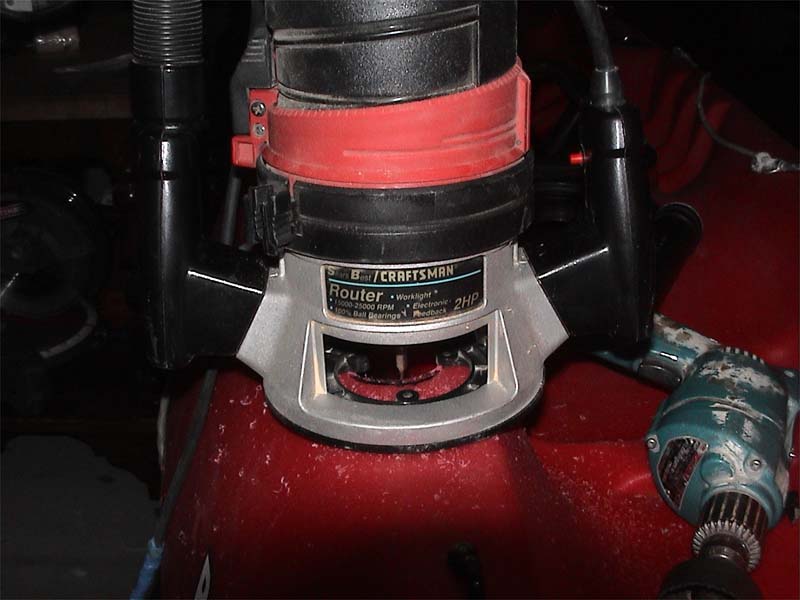
| I have a router that I use to modify the hole. Other tools
like a rotozip, dremel, rasp, jigsaw or knife can be used. However the
gunwale on this particular kayak is perfectly suited for a router. |
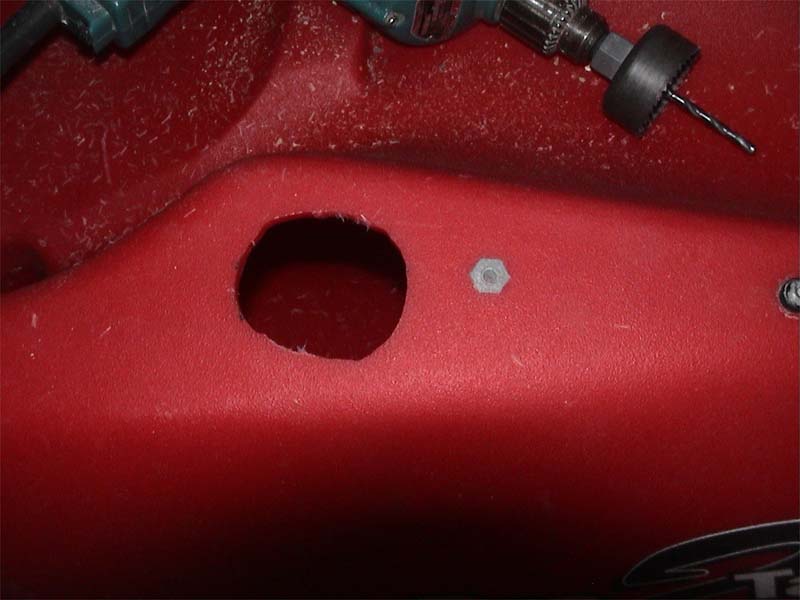
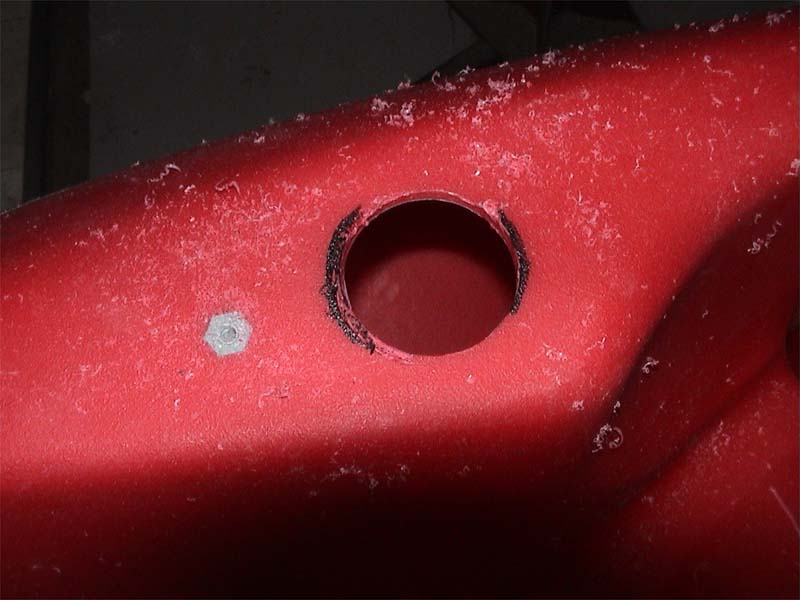
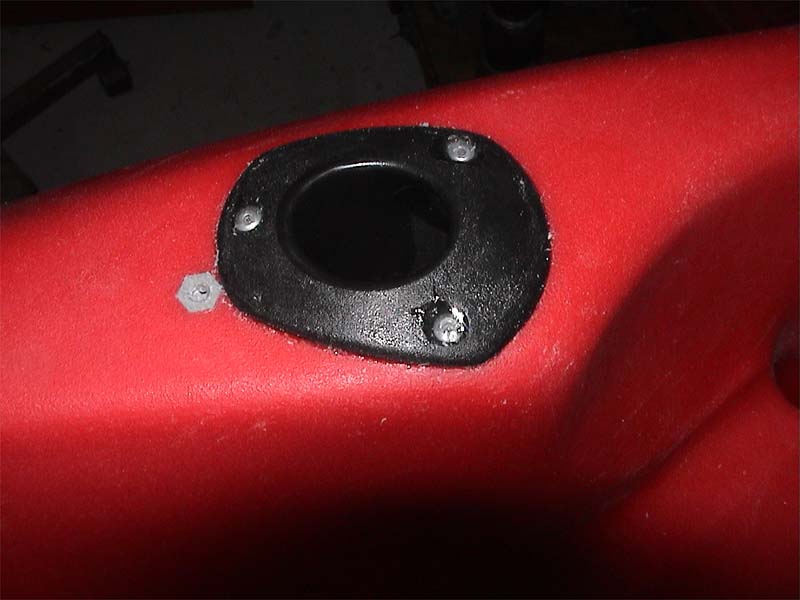
| Pictured above is the hole after it has been modified. Try
and keep the hole as tight as you can by shaving off a little at a time a
refitting the rod holder. When the fit is tight, it helps to make a better
seal with the adhesive. Once you can fit the rod holder in flush and snug,
rotate it to the desired position and mark the bolt/rivet holes for
drilling. It is important to match the drill bit to the bolts or rivets,
taking extra notice if any of the holes need to be drilled on an angle (this
will vary between rod holder manufacturers). After you have marked the
holes, drill them. |
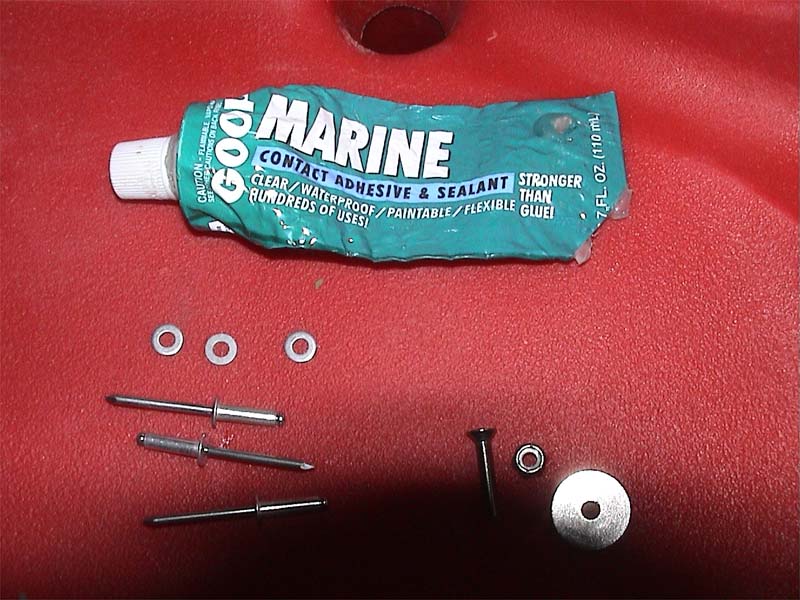
| I like to use Marine Goop, but 3m's 5200 seems to work just as
well. Pictured above is aluminum pop rivets and next to it is a stainless
steel bolt, nut and fender washer. If I can reach the area with tools for
nuts and bolts then I will use the nuts and bolts over the pop rivets. If
you don't care and use pop rivets for ease of use, pick up the matching washers
and use then as extra backing on the inside of the hull. |
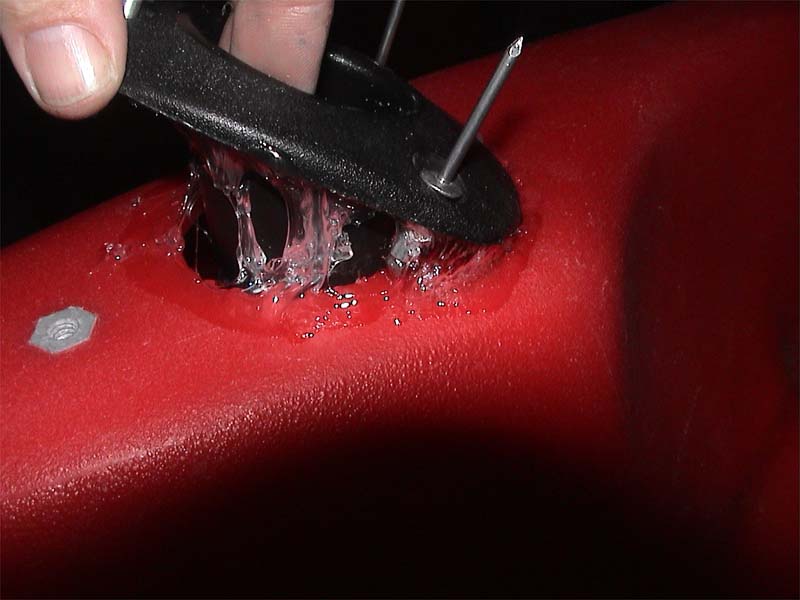
| LIBERALLY put a bead of sealant/adhesive around the hole area
and do the same on the bottom of the rod holder. There should be enough
adhesive/sealant that when you tighten the pop rivets or bolts that excess
sealant/adhesive should squeeze out from under the rod holder base. |
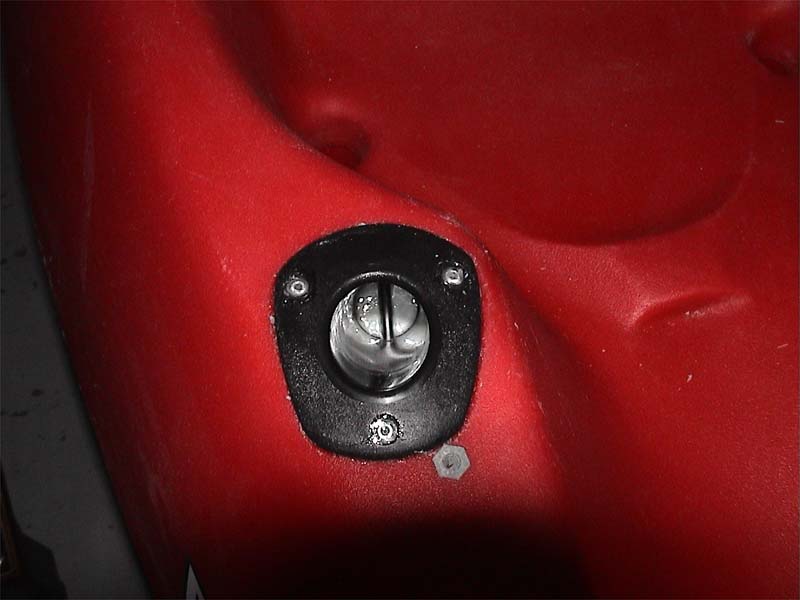
| Take extra sealant/adhesive and fill in on the top of the
rivets. In the Picture above you can see the plug epoxied to the bottom of
the rod holder tube and you can see the support bar which spans the diameter of
the tube (as mentioned in the first section). |
| For those of you who are wondering what the gray nut is next to
the rod holder; it is one of the motor mounts that is included in my particular
tandem Kayak. Please give yourself a few days, for this whole procedure to
set after you are finished. It is best to do this on a Monday or Tuesday
evening if you plan to fish on a Saturday, that way the glue has plenty of time
to cure and give you a more permanent mounting.
Back to Top
|
|