|
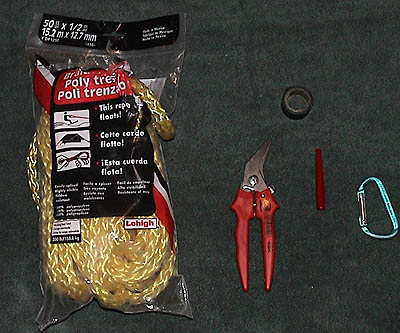
MAKING A BOWLINE WITH BRAIDED HOLLOW POLY ROPE By Ted Mackel The nice thing about braided hollow poly rope is that you can feed it back in on itself for a clean knotless finish. This finish is very strong and will work well for many kayak fishing applications. Part of the principle of the rope works much the same way as the dime store trick, Chinese thumb cuffs. The harder you pull on the rope, the more it clamps down on itself. The following instructions give a visual as to how to work with this rope. A perfect application are the snaps on a bowline. Since kayak fishermen use drift chutes (sea anchors) to slow the drift, a line without knots is preferable. You will need to go out and buy braided hollow poly rope which runs around $5.00 - $8.00 per 50 feet. In this lesson I will be using 1/2 inch diameter rope. I have found 1/4 inch diameter rope to be useful in other applications, but for the bowline, 1/2 inch diameter is needed. You will also need a good set of cutters, electrical tape and a lighter. I will use a karabiner for an example, but for a bowline brass swivel snaps are a much better choice.
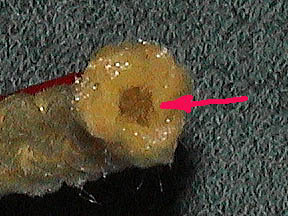
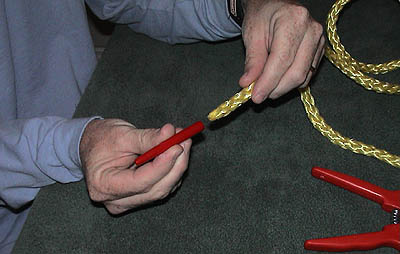
If you bought the right rope, a plastic threading cap should be included in the package. If you lost the cap or did not get one, you can use electrical tape to wrap off the end tightly. If you look at the end of the rope, you can see how it is hollow (see red arrow in picture below). Later you will thread the rope back through it's side and into its center.
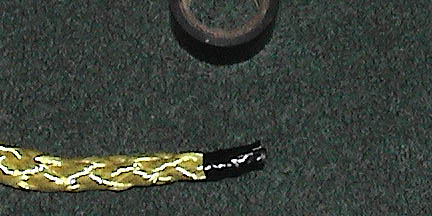
Don't cut the rope to length yet. Take one end of the rope and either using a lighter melt the end to a tip that will fit in the end of the threading cap (easier said than done),
or tape the end tightly with electrical tape. If you can melt the end then you wont see the black tape inside the rope when you are done for a cleaner finish.
Next place the threading cap on the end of the rope tightly. Really twist it on
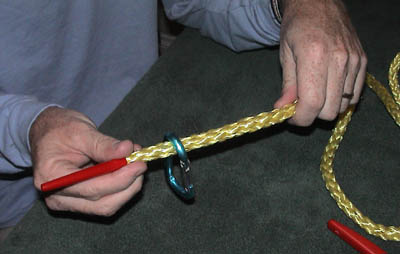
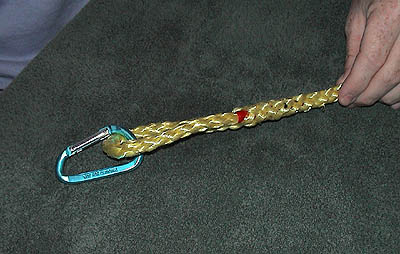
Next, run the capped rope through your clip or snap.
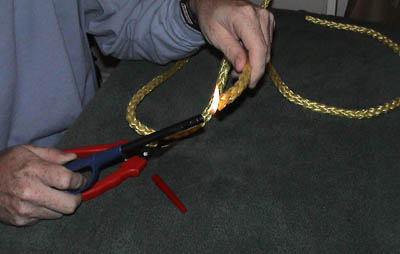
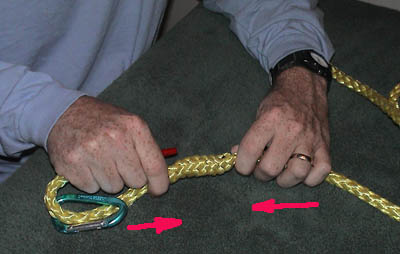
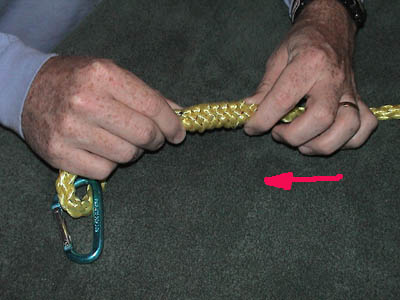
Now it is time to scrunch the rope so you can get the tip threaded into the middle of the rope. In the picture below, grab the rope and push it with both hands in the direction of the arrows. the rope will get fat and you will see gaps between the braids open up.
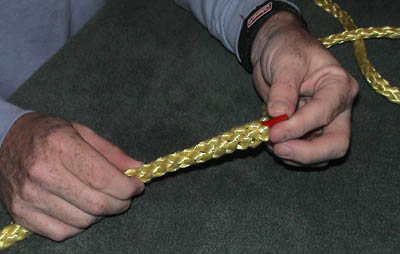
It is in between these braid gaps that you will thread the red cap back into the center of the rope. Pick a braid gap that is at least 12 inches away from the end of the rope and insert the tip through the braid gap into the center or the rope so that the red cap is in the center of the hollow core of the rope and not sticking out the other side of the rope.
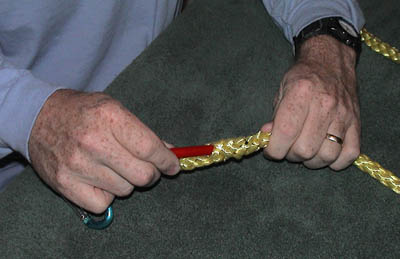
Once you get the cap all the way in the rope with the rope following,
Start to scrunch the rope toward your clip or snap while feeding the rope and cap down the middle of the rope. Once you have scrunched on enough,
locate the red cap inside the rope, scrunch more of the rope up on the cap and feed the cap out through one of the gaps in the braid. When you pull the cap out, the rope will be left behind inside the rope
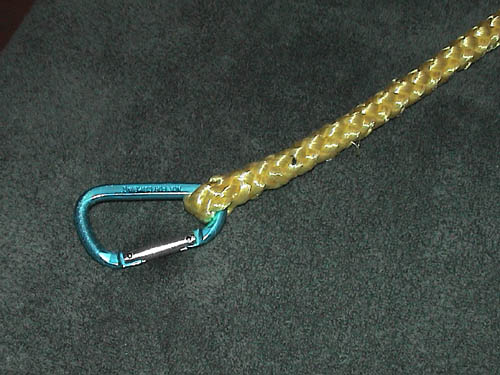
Now pull the rope snug and straighten out the rope and you are all done.
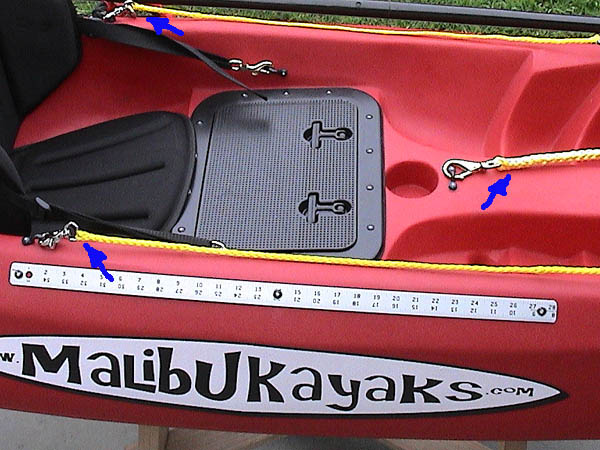
You can see in the picture below that I use this technique in a couple places on my kayak, both on 1/4 inch and 1/2 inch braided hollow poly rope (See blue Arrows).
|
<back